RV Skylight Replacement Cost: What to Expect in 2026
RV skylight replacement costs $25 to $90 for an inner dome only, $170 to $320 for a full DIY kit, or $300 to $1,200 professionally installed. Here's what drives the range.
Typical cost
$25–$1,200
A basic inner-dome-only swap runs $25-$90; a complete DIY kit with inner dome, outer dome, and mounting hardware runs $170-$320; professional installation with labor typically lands $300-$650, more if the roof around the opening needs resealing or the frame is damaged.
Most people pay around
$250
Costs verified July 2026
Replacing an RV skylight runs $25 to $1,200, and the number that actually applies to you depends on which half of the skylight failed and who does the work. A cracked or yellowed inner dome, the piece you see from inside the shower or hallway, is often a $25-$90 fix that takes 20 minutes. The outer dome, the part exposed to sun and weather on the roof, runs $80-$320 depending on whether you buy it alone or as a complete kit, and a shop doing the work adds $100-$175 an hour on top of parts.
Inner dome vs. outer dome: know which one actually failed
RV skylights are almost always two pieces, not one. The outer dome bolts directly to the roof and takes the UV beating. The inner dome, sometimes called a trim ring or interior cover, sits below it in the ceiling cutout and is mostly cosmetic, though on some models it also seals against condensation dripping into the cavity between the two.
A yellowed, hazy inner dome with no cracks and no water staining around it is almost always just a cosmetic problem. Swap it and you’re done. A dome that’s cracked, warped, or has visible daylight leaking around its edges when it’s raining is a different story, and it usually means the outer dome or the seal beneath it has failed.
What an inner dome replacement actually costs
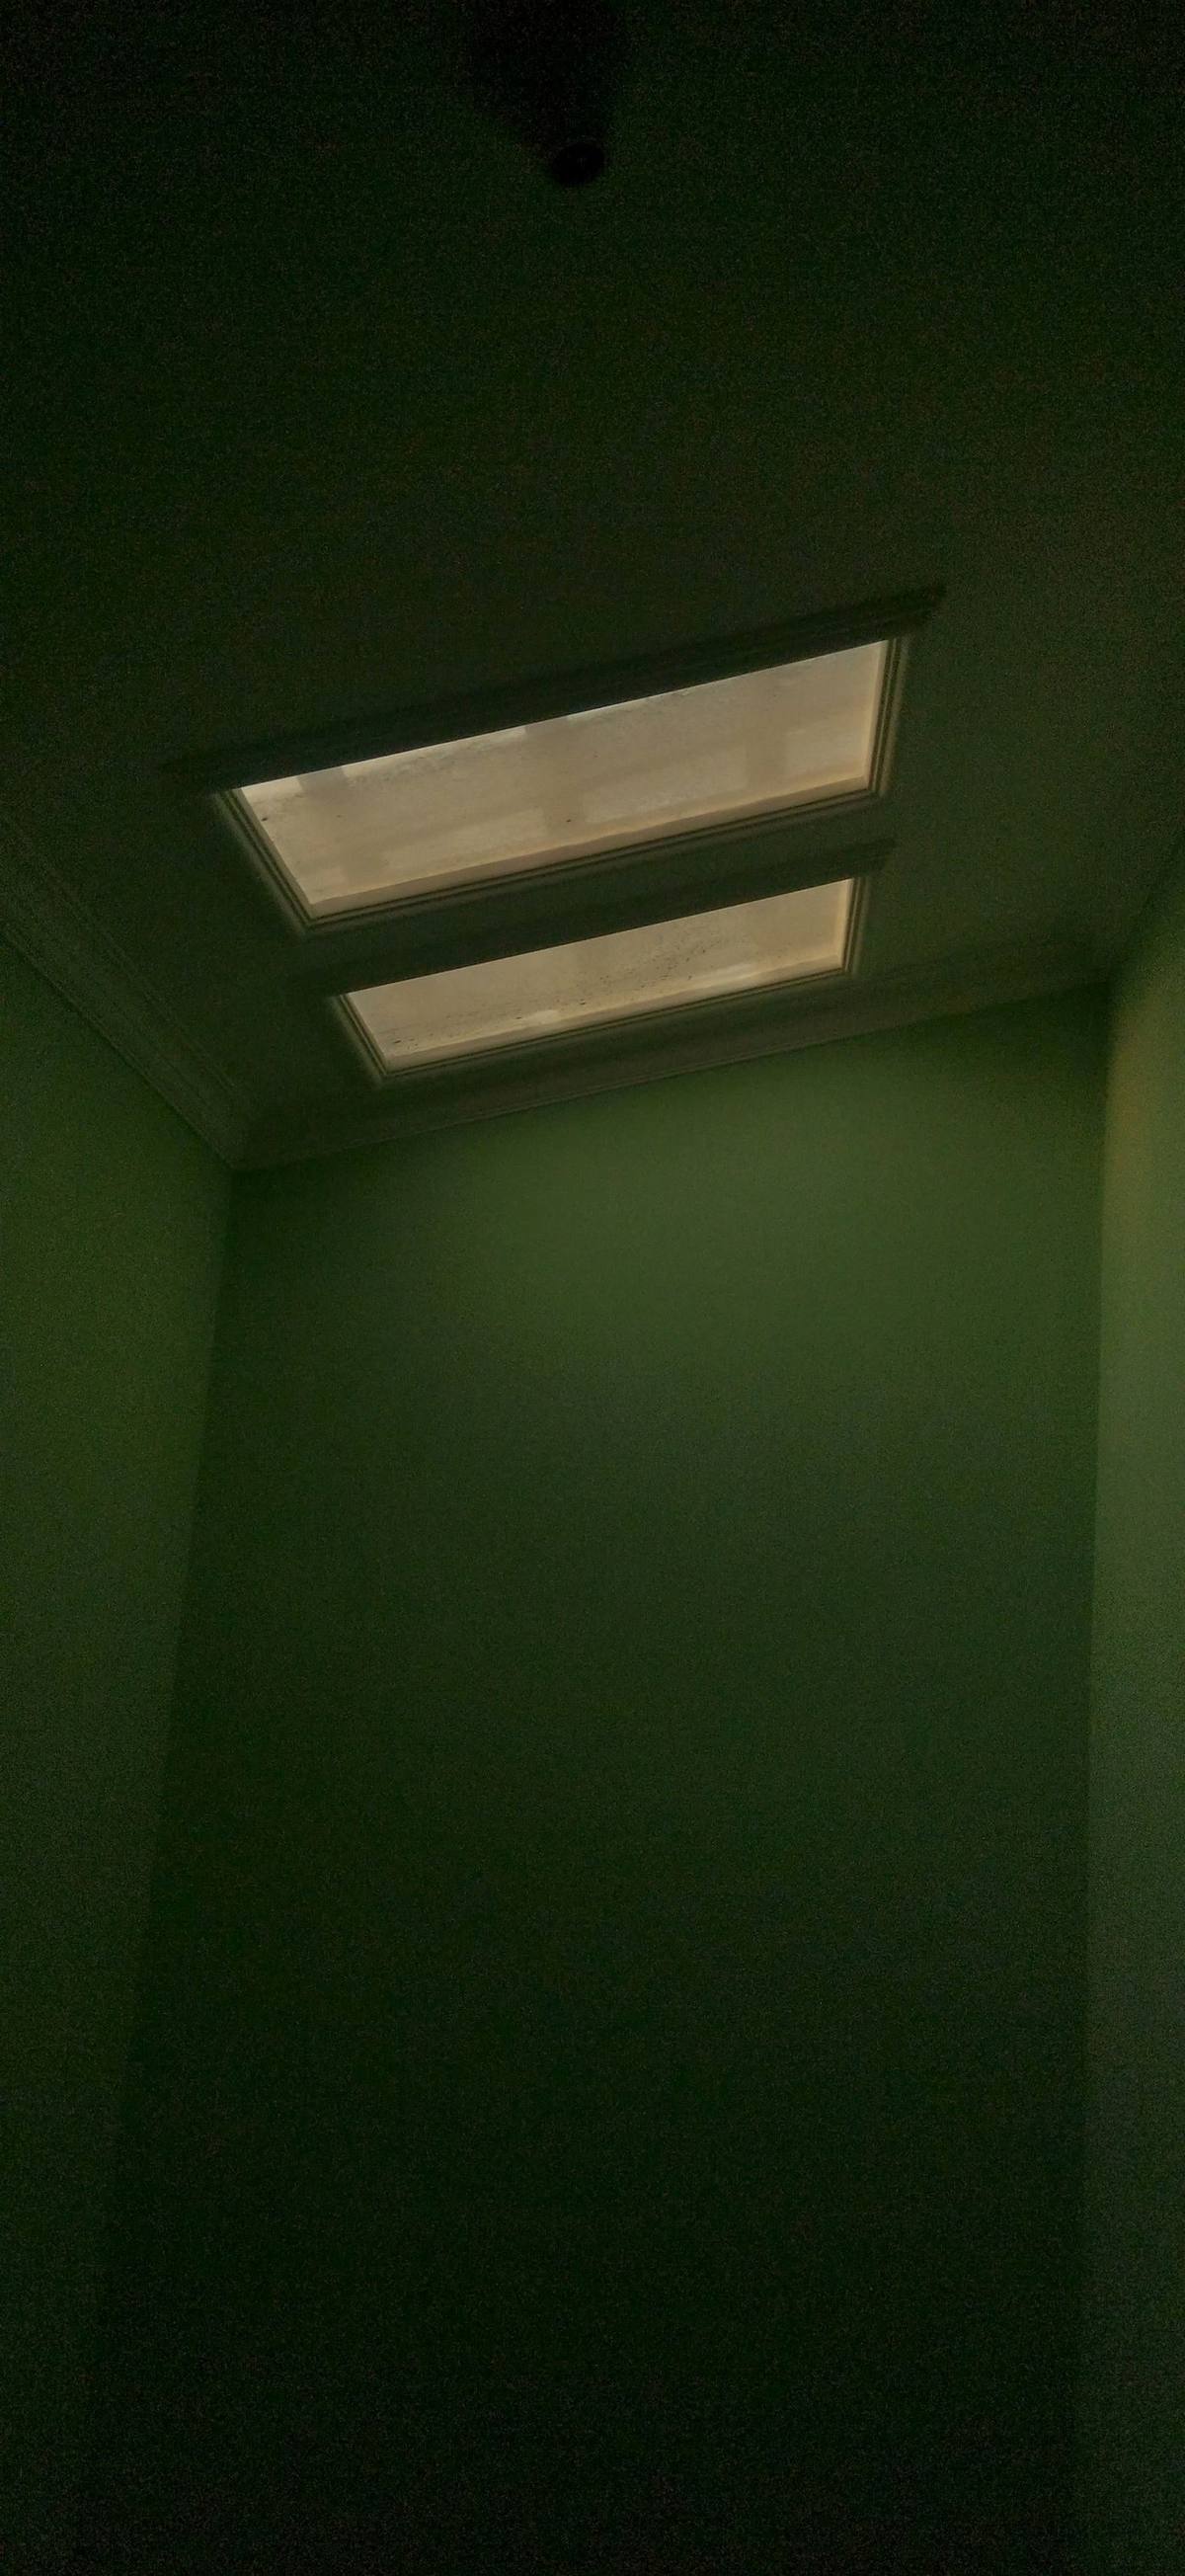
If the interior piece is the only thing wrong, this is the cheapest and easiest repair on this entire page. Individual inner domes and trim rings run $25 to $90 depending on brand and size, and one iRV2 owner reported paying $38.85 for the piece itself before shipping. Installation is a handful of screws around the trim ring; no roof work, no sealant, no ladder.
The catch is fit. RV skylight openings are not standardized the way household ones are, and manufacturers have used slightly different depths and angles across model years. A Vanleigh RV owner learned this the hard way, ordering an aftermarket inner trim ring from RecPro that looked correct on paper but sat too shallow, leaving bare wood visible around the edges. After cycling through Icon’s low-profile option and an RV Parts Country alternative with the same result, the fix ended up being a hand-cut acrylic sheet from Lowe’s, held in with 3M tape. Measure the depth of your ceiling cutout, not just the width and length, before ordering.
What a full outer dome kit costs
This is where most skylight replacements land. A complete kit, outer dome, inner dome, gasket, and mounting screws, runs $170 to $320 through United RV Parts, which carries 203 skylight products across Specialty Recreation, Icon, and Heng’s. Buying just the outer dome on its own, without a new inner piece, runs $80 to $210.
| What you’re buying | Typical cost |
|---|---|
| Inner dome / trim ring only | $25-$90 |
| Outer dome only | $80-$210 |
| Complete kit (both domes + hardware) | $170-$320 |
| OEM factory-matched replacement | $650-$800+ |
Size matters here more than brand. 14-by-22-inch rectangular is by far the most common shape on travel trailers and fifth wheels, with 14-by-14 and 22-by-22 square units close behind. Neo-angle skylights, built for the angled ceiling over a corner shower, cost more simply because fewer manufacturers bother stocking them in volume.
When you’re stuck with an OEM part
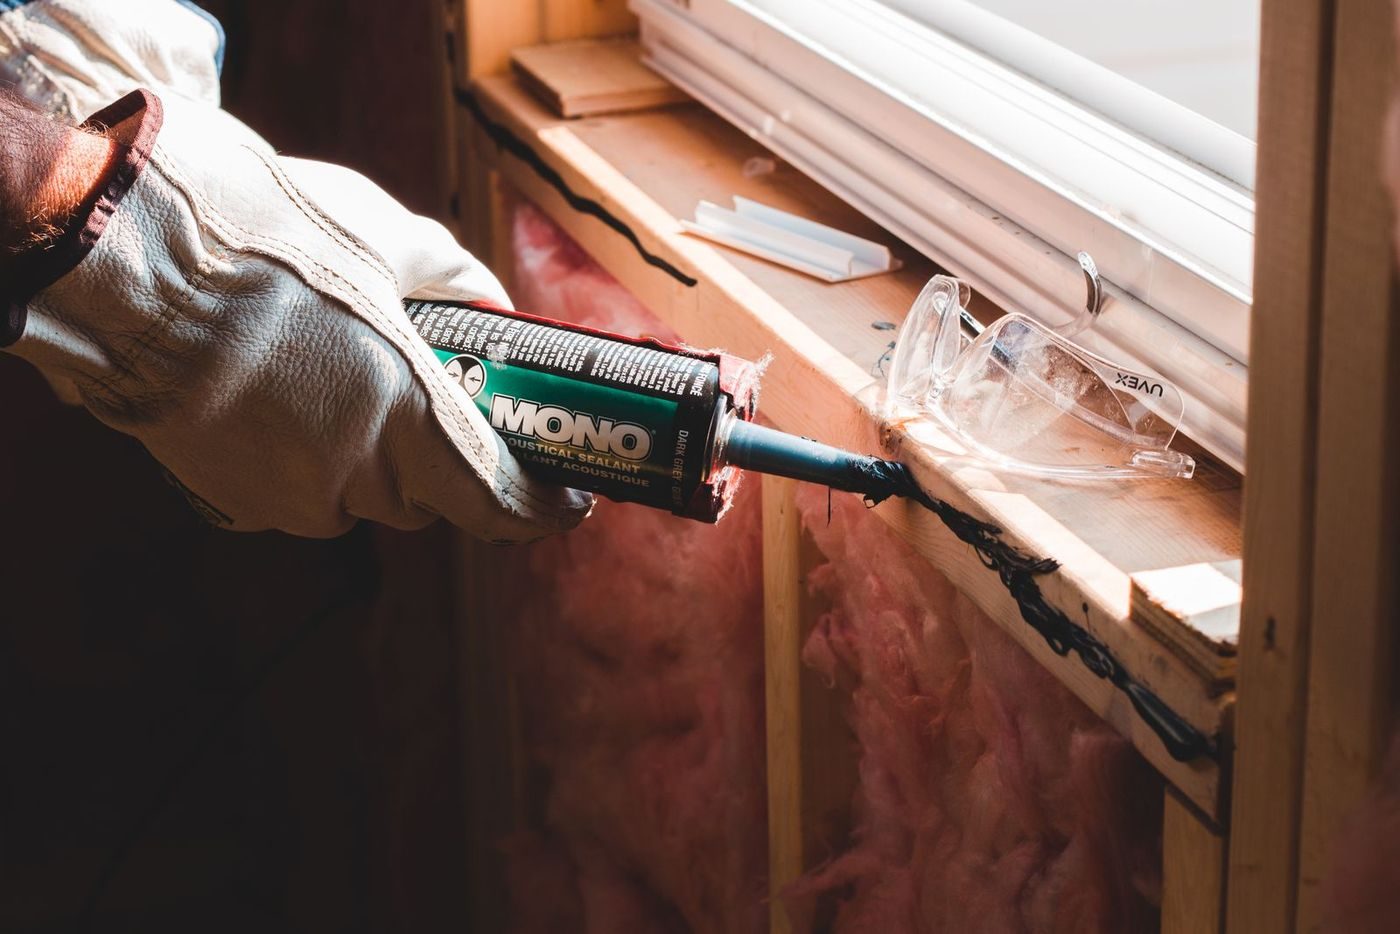
Older rigs and less common manufacturers sometimes used a skylight shape that no aftermarket kit matches. When that happens, the only path is a factory-matched part ordered through the RV brand’s own parts department, and the price reflects it. One owner’s Winnebago parts quote came back at $661.27 for a 22-by-37 unit, and with shipping the total landed over $800, more than triple what a common-size aftermarket kit costs. If you’re not sure whether your rig falls into this category, measure the opening and search for that exact size before assuming an off-the-shelf kit will fit; a mismatch discovered after the old dome is already off the roof is a bad day.
Can you replace an RV skylight yourself?
For a standard-size dome on an accessible roof, yes, and it’s one of the more approachable RV roof jobs precisely because the opening is small and the failure points are easy to see. Remove the screws holding the old outer dome, scrape every bit of the failed butyl tape and old sealant off down to bare fiberglass or rubber membrane (skipping this step and sealing over old, hardened butyl is one of the most common causes of a repeat leak), lay a fresh ring of new butyl tape, seat the new dome, screw it down, and cap the whole perimeter and every screw head with Dicor self-leveling lap sealant.
The inner dome is even simpler: unscrew the trim ring, pop out the old dome, seat the new one, screw it back down. No sealant, no roof access required for most models.
Where this gets harder: if the roof membrane itself has separated from the decking around the opening, if there’s a soft spot underfoot near the skylight, or if the ceiling shows staining that suggests water has been getting in for a while. Those are decking-repair problems wearing a skylight-replacement costume, and they belong to a shop, not a weekend project.
What professional installation costs
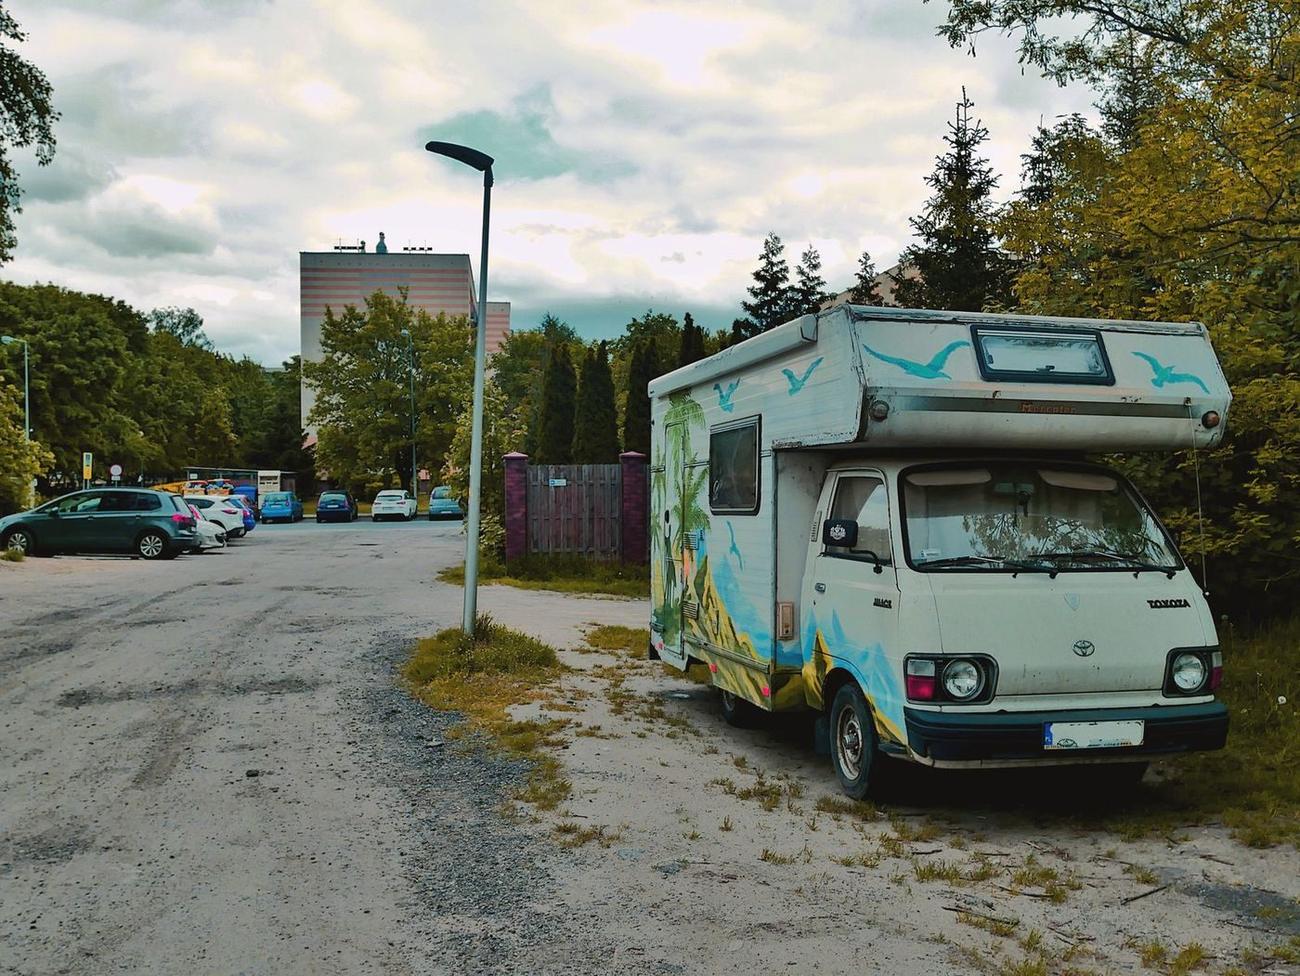
Shop and mobile tech labor for this kind of work runs $100 to $175 an hour, the same range that applies to most RV roof-penetration jobs, and a straightforward dome swap takes 1 to 3 hours. Combined with parts, that puts a standard professional installation at $300 to $650 for a common-size complete kit plus labor.
The number climbs fast once decking is involved. If a shop pulls the old skylight and finds soft or delaminated plywood underneath, you’re looking at the same $1,500-$3,500 decking-repair range covered in the roof repair guide, on top of the skylight itself, which is how a simple swap turns into a $650-$1,200-plus job. This is also the scenario where paying for a professional actually saves money: catching soft decking during a routine skylight swap is far cheaper than discovering it later as a full roof failure.
Does a cracked skylight mean water damage underneath?
Not necessarily, and this is worth checking calmly rather than assuming the worst. A cracked outer dome from a falling branch or hail impact can sit for weeks without any water reaching the interior, especially if the crack is high on the dome rather than at the base where it meets the roof. What actually determines whether you have a water problem is the seal at the base, not the dome material itself. Press on the ceiling around the skylight opening; any give, sponginess, or discoloration means it’s time to check further before ordering a replacement dome and calling it done.
How skylight cost compares to other roof work
A skylight swap sits at the low end of RV roof repair costs precisely because the opening is small, usually under two square feet, compared to resealing an entire roof membrane or patching a multi-foot leak. The roof repair guide covers what happens when the damage extends beyond a single penetration point, and the roof leak repair guide is worth reading if you’re not actually sure the skylight is the source of a leak rather than a nearby vent or seam. Given how often owners trace a ceiling stain to the wrong fixture, tracing the actual entry point before buying a new dome can save a wasted purchase.
If a storm is what cracked the dome in the first place, the window replacement guide covers the same insurance logic that applies here: sudden impact damage is usually a covered claim, while age-related wear on the glazing is on you.
What drives the price
| Cost factor | How it moves the price |
|---|---|
| Inner dome only vs. outer dome vs. full kit | Most RV skylights are two separate pieces: an outer dome bolted to the roof and an inner dome or trim ring fitted into the ceiling cutout below it. If only the interior piece has yellowed or cracked, individual inner domes run as little as $25-$90. A UV-damaged outer dome alone runs $80-$210. A complete kit with both domes, gaskets, and mounting hardware runs $170-$320 at United RV Parts, which stocks 203 skylight products across Specialty Recreation, Icon, and Heng's. |
| Size and shape | 14-by-22-inch rectangular is the most common RV skylight size, followed by 14-by-14 and 22-by-22 square units. Neo-angle and custom shapes exist for shower stalls with an angled ceiling, and they cost more because fewer manufacturers stock them. Measure the existing dome at its widest point before ordering; RV skylight openings are not standardized the way household skylights are. |
| Material and finish | Nearly every RV skylight sold today is thermoformed acrylic or polycarbonate, not glass. Standard acrylic domes run 5 to 10 years before UV exposure turns them yellow and brittle; premium UV-stabilized versions push that further out. Clear, white, smoke, bronze, and ice tint options are typically priced the same within a given size, so tint is a preference call, not a budget one. |
| OEM sourcing on older or discontinued models | Owners of rigs with a proprietary or discontinued skylight shape run into real trouble here. One Vanleigh RV owner spent weeks chasing down a replacement inner trim ring after RecPro, Icon, and RV Parts Country aftermarket options all failed to match the original's angled profile and ceiling depth, eventually resorting to a hand-cut acrylic sheet from a hardware store. On the other end, an owner quoted directly through Winnebago parts paid $661.27 for an OEM-matched 22-by-37 unit, over $800 once shipping was added, more than triple what an aftermarket kit in a common size costs. |
| DIY vs. professional labor | A straightforward dome swap on an accessible roof is a beginner-to-intermediate DIY job: remove the old dome's screws, scrape off the failed sealant, seat the new dome in fresh butyl tape, and cap it with Dicor self-leveling lap sealant. Mobile RV techs and dealer service departments both run $100-$175/hr for this kind of work, and a simple swap takes 1-3 hours. |
| Roof condition around the opening | If the sealant around the skylight failed months or years before anyone noticed, water can travel under the frame and soften the plywood decking beneath it, the same failure mode covered in the roof repair guide. A skylight swap that turns into a decking repair pushes the job from a few hundred dollars into the $650-$1,200-plus range fast. |
DIY or hire a pro?
- Cost
- $25-$320 depending on whether it's an inner dome, an outer dome, or a full kit
- Time
- 20-30 minutes for an inner dome that snaps or screws into a trim ring; 1-2 hours for an outer dome replacement that requires fresh sealant
- Skill
- Beginner for the inner dome; beginner to intermediate for the outer dome, since that means working on the roof and removing old sealant cleanly
The inner dome is the easy half of the job. Most are held in place by a handful of screws around a trim ring, and swapping a yellowed or cracked one is genuinely a 20-minute task with no roof work involved. The outer dome is where the actual weatherproofing happens. Pull the old screws, scrape every trace of the original butyl tape and lap sealant off the roof (this step gets skipped and it shouldn't; sealing over old, hardened butyl tape is how leaks start), lay a fresh bead of butyl tape around the opening, seat the new dome, screw it down, and finish with a bead of Dicor self-leveling sealant over every screw head and the perimeter seam. None of it requires an electrician's license or specialty tools, but a caulk gun and patience matter more than most first-timers expect.
What you'll need
- ICON Technologies skylight outer dome, common rectangular sizes (affiliate)
- ICON Technologies skylight inner dome / trim ring (affiliate)
- Specialty Recreation N1422D flange skylight, 16 x 24 in (fits a 14 x 22 opening) (affiliate)
- Dicor self-leveling lap sealant (affiliate)
As an Amazon Associate, we earn from qualifying purchases.
- Cost
- $300-$1,200 installed, driven mostly by whether the roof needs resealing beyond the skylight itself
- Time
- 1-3 hours for a straightforward swap; a full shop day if the roof around the opening needs to be reworked
- Booking
- Worth paying for when the opening size doesn't match anything in stock, when there's visible water staining around the frame, or when the rig is still under a manufacturer roof warranty that DIY roof penetrations could void
A shop earns its fee by getting the seal right the first time and by catching decking damage before it's papered over with a new dome. That second part matters more than it sounds: a skylight that's been leaking slowly for a season can look fine from the inside right up until someone's foot goes through soft plywood. Pro installation also makes sense for oddly shaped or older proprietary skylights where sourcing the right replacement takes real hunting, since a shop's parts network often turns up options a homeowner searching Amazon and Google won't find.
Will insurance or a warranty cover it?
- RV insurance may cover this when the cause is a covered peril (storm, collision, fallen tree), not gradual wear or neglect.
- This is usually out of pocket. Standard policies treat it as wear and maintenance. A service contract bought before it fails is the main way to shift the risk.
Sudden damage from hail, a falling branch, or a low-clearance impact is typically covered under comprehensive RV insurance the same way a cracked windshield would be. Gradual UV yellowing, sealant failure, and the normal 5-to-10-year lifespan of an acrylic dome are considered wear items and are not covered. Extended warranties are similarly narrow: skylights are cosmetic and weatherproofing components rather than mechanical systems, so most mechanical breakdown contracts exclude them outright unless a specific rider names roof components. Read the exclusions list before assuming a plan covers a leaking dome.
Coverage depends on your policy and the cause of damage. Confirm specifics with your provider.