RV Brake Replacement Cost: What to Expect in 2026
RV brake replacement costs $30-$680 in parts for a DIY trailer axle job, or $350-$4,000+ installed depending on drum vs. disc and trailer vs. motorhome brakes.

Typical cost
$30–$4,000
A DIY trailer brake shoe-and-magnet kit runs $30-$135 per wheel in parts; a full axle drum brake service at a shop runs $350-$600; a disc brake conversion runs $500-$4,000+; a motorhome hydraulic brake job runs $800-$3,200
Most people pay around
$650
Costs verified July 2026
RV brake replacement costs $30 to $135 per wheel in parts for a DIY trailer drum brake job, $350 to $600 for a full axle service at a shop, and anywhere from $500 to over $4,000 for a disc brake conversion depending on axle capacity. On a motorized RV, a straightforward front brake job runs $800 to $1,500, and a full front-and-rear service or system flush runs $1,800 to $3,200. The number that actually matters here isn’t just the dollar figure. It’s figuring out which of two entirely different brake systems your rig even has, because trailer brakes and motorhome brakes don’t share parts, don’t share a service process, and don’t share a price tag.
Two totally different systems, two totally different price tags
A travel trailer or fifth wheel doesn’t have hydraulic brakes at all. It has electric drum brakes: a magnet inside each wheel’s brake drum that energizes when the tow vehicle’s brake controller sends it a signal, pressing the brake shoes against the drum. No brake fluid, no master cylinder on the trailer itself, just a 12-volt electrical signal and a mechanical drum brake assembly. That makes trailer brakes cheap to source and genuinely serviceable by a patient DIYer.
A motorized RV is a different animal entirely. Class A, B, and C motorhomes use hydraulic brakes, the same fundamental system as any truck or car, usually disc brakes up front and sometimes drum brakes in the rear axle, all run through brake lines, a master cylinder, and (on larger diesel coaches) an air-assist or full air brake system. That’s a heavier, faster vehicle stopping itself, not a trailer being slowed down by a signal from up front, and the service complexity and cost reflect it.
Knowing which category your rig falls into before you start pricing repairs saves a lot of wasted research. A $150 DIY estimate and a $2,500 shop quote aren’t a scam or a ripoff of each other. They’re usually just two different systems.
What a trailer brake shoe-and-magnet job costs
The cheapest possible fix is a worn magnet or a glazed shoe on an otherwise healthy drum brake. Owner reports on iRV2 put a complete brake assembly, backing plate, shoes, magnet, springs, and adjuster all included, at around $32 per wheel when bought as a full pre-mounted unit rather than individual parts. Buying components separately from a supplier like Southwest Wheel runs a bit more: Dexter OEM shoe-and-magnet hardware for a 10-inch, 3,500-lb-rated brake runs $83-$135 per side depending on whether it’s a standard or self-adjusting version, while a budget TruRyde equivalent runs closer to $45-$90 per side.
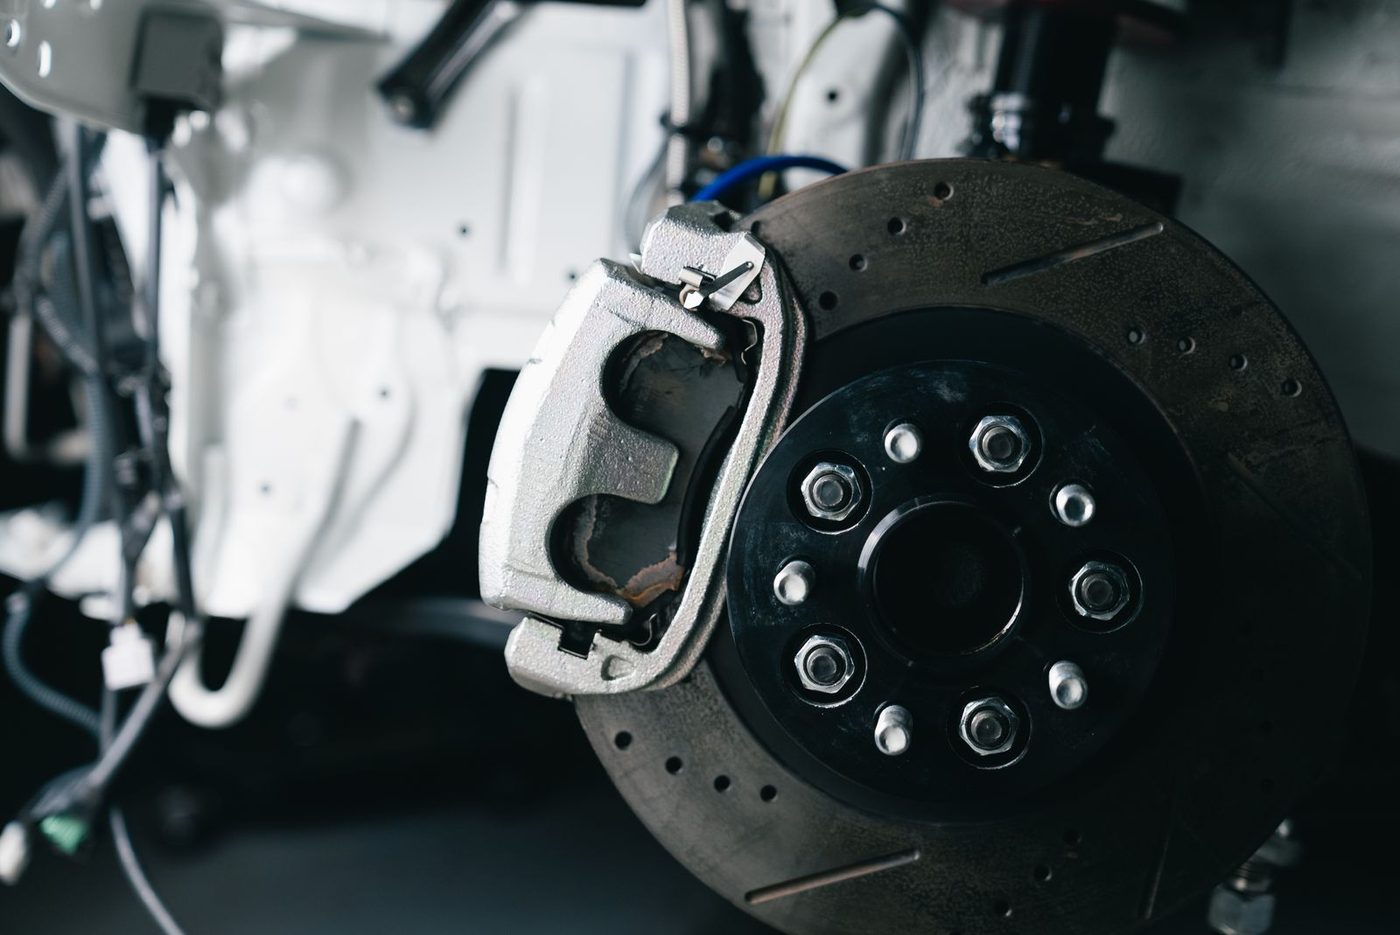
It’s usually smarter money to replace both magnets on an axle together rather than one at a time, since mismatched magnet wear between the two wheels on an axle causes uneven braking pull. Some owners go further and do all four positions on a tandem-axle trailer in one visit, on the logic that if one has worn out from age and mileage, the others aren’t far behind.
Full axle drum brake service at a shop
Handing the job to a mobile RV tech or an independent trailer shop runs $350 to $600 for a full axle, both wheels, parts and labor included, according to cost breakdowns from trailer parts retailers and direct owner reports. One real example from an iRV2 thread: $110 per hub-and-drum kit plus $88 per brake assembly, $376 total in parts for one axle, plus $130 in labor, for a $506 total. That tracks closely with the $200-$600 per-axle range (including $100-$200 of that being install labor) that trailer parts suppliers commonly quote for electric brake service.
A shop visit is also the natural time to have wheel bearings inspected, since the hub has to come off anyway to reach the brake shoes. Repacking or replacing bearings while everything’s already exposed runs roughly $50-$300 per axle on top of the brake work, which is a lot cheaper than paying for a second teardown a year later when a bearing that was already marginal finally fails.
Is a disc brake conversion worth the extra cost?
Drum brakes work fine for most towing, but they fade under sustained heavy use, the kind you get on a long mountain descent with a heavily loaded trailer riding the brakes for miles. Disc brakes resist that fade far better, which is why they’re the common upgrade for trailers that regularly cross mountain terrain or carry toy-hauler weight near the axle’s rated capacity.
The cost gap is real. A Kodiak complete 3.5K-axle disc brake conversion kit, both wheels, hub/rotor assemblies, calipers, and mounting hardware included, runs about $590 in parts. Step up to a heavier-duty setup and the price jumps fast: a Dexter disc retrofit kit built for a 6,000-lb axle runs about $1,975 per wheel, nearly $4,000 for a single axle in parts alone before installation. Forum reports on a tandem-axle conversion put the total, parts plus professional installation, at around $2,900-$3,000 for a heavier trailer.

The math on whether to convert usually comes down to how the trailer is actually used. An occasional flat-state camper towing a light single-axle trailer has little reason to spend $600-plus converting brakes that were never close to their limit. A full-time toy hauler regularly crossing mountain passes at or near its rated towing capacity is a much stronger case for the upgrade.
What a Class A or Class C brake job actually costs
Motorized RV brake work prices closer to heavy-truck service than to trailer service, because that’s essentially what it is. One Class A owner reported paying $1,400 total, $600 in parts and $800 in labor, for front rotors, pads, and one caliper. Another full front-and-rear job, both axles, ran about $2,400, split roughly $374 in front labor and $499 in rear labor plus parts. A complete brake system flush, fluid, lines, and all four corners, runs toward the top of the range: one owner’s quote came in around $3,200 total, with local independent shop estimates commonly landing in the $2,000-$2,500 range for similar scope. Independent RV repair shops have quoted around $1,200 per axle for rear dual-brake work specifically.
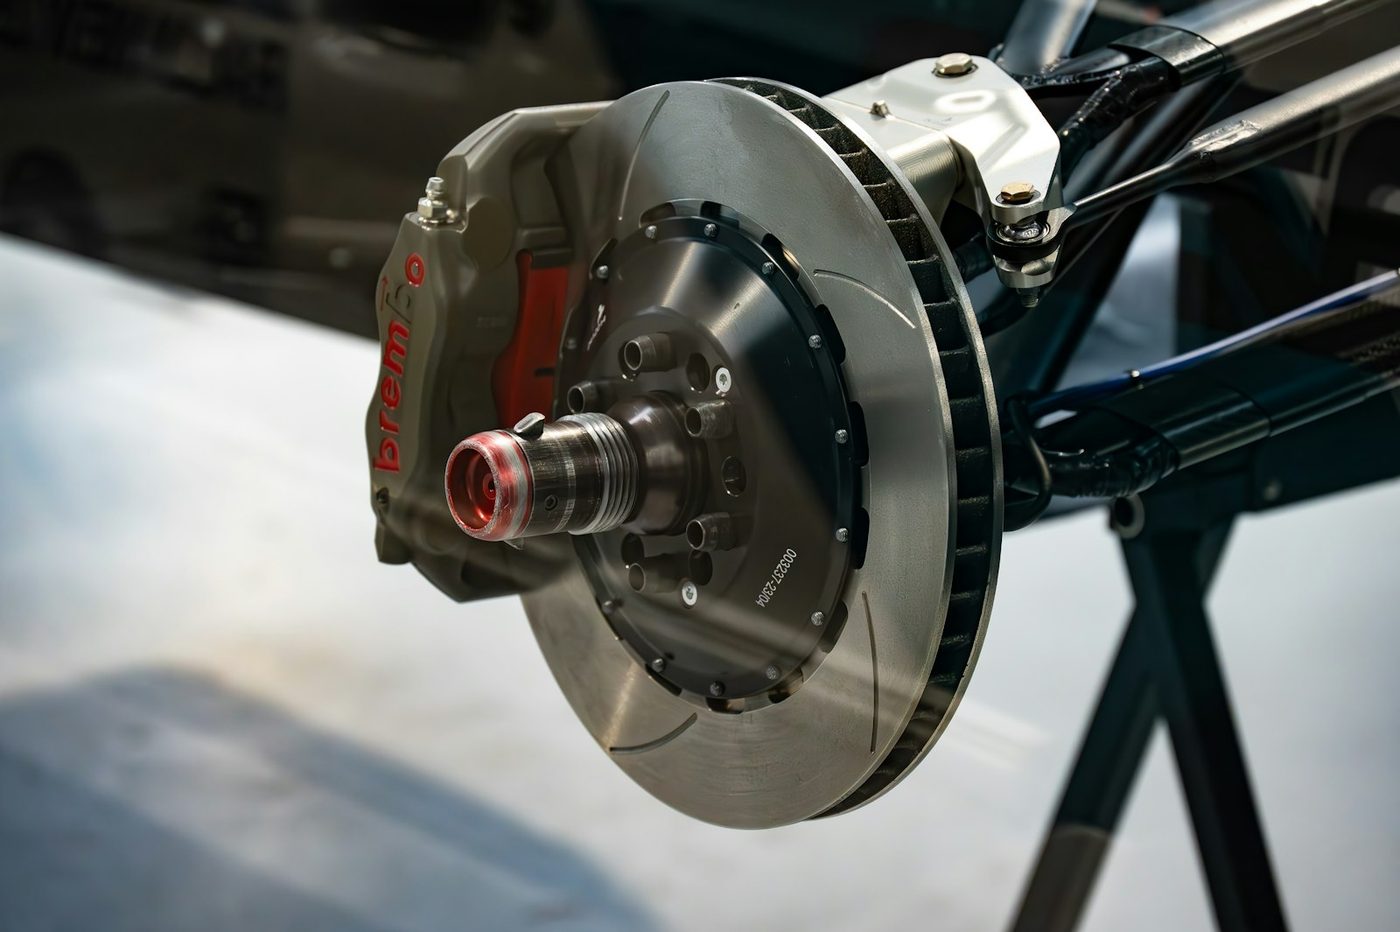
The spread between quotes has a real explanation beyond regional labor rates. Whether the job is pads only, pads and rotors, or a full flush with fresh brake fluid throughout the system changes both parts cost and labor hours substantially, and a shop that’s thorough about checking calipers and brake lines while everything’s apart will naturally quote higher than one doing the minimum pad swap.
DIY vs. hiring it out
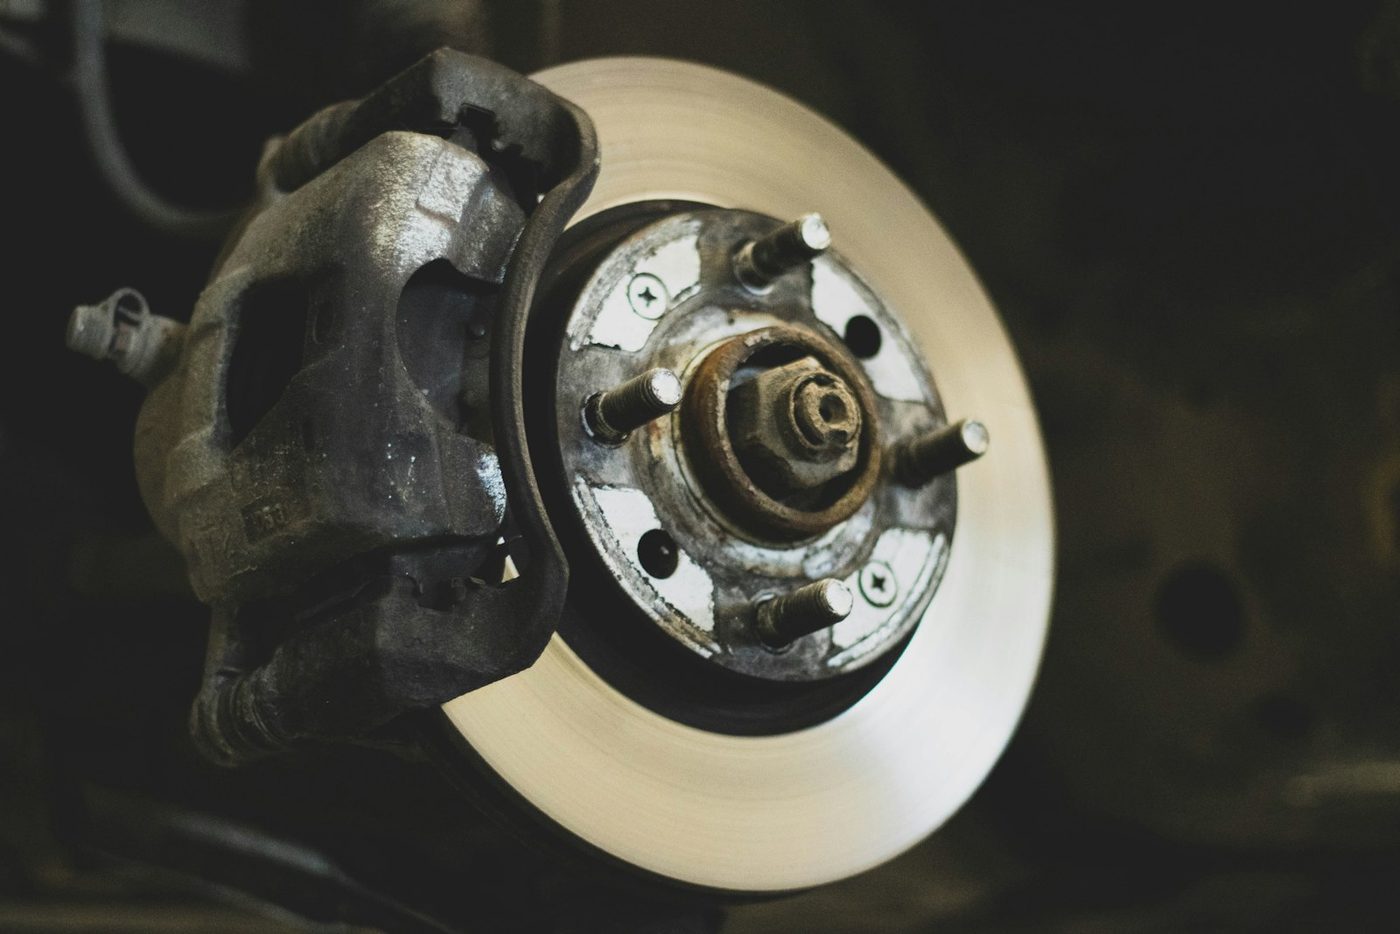
Trailer drum brake work is genuinely within reach of a comfortable DIYer. It’s mechanical, not electrical or hydraulic: jack the axle, pull the hub and drum, swap the shoe-and-magnet assembly, repack or replace the bearings while the hub’s off, reinstall, and adjust. Buying a complete pre-mounted backing plate rather than sourcing shoes, magnets, springs, and an adjuster separately removes most of the ways this job can go wrong.
Motorized RV brakes are a harder call. Bleeding hydraulic lines correctly, torquing calipers to spec, and working on a system that has to stop a vehicle weighing anywhere from 10,000 to 40,000-plus pounds at highway speed is not the place to cut a first-timer’s teeth. Brakes are the one system on an RV where a mistake shows up immediately and dangerously rather than as a slow leak or a rattling noise, which is the strongest argument for hiring out any hydraulic brake work you’re not already confident doing.
What actually drives the cost up
Axle capacity is the biggest lever on the trailer side. A light 3.5K-rated axle uses cheaper brake assemblies and a cheaper disc conversion kit than a 6K or 8K-rated axle on a heavier fifth wheel or toy hauler, and that difference compounds fast: the Dexter 6K disc kit above runs nearly double the Kodiak 3.5K kit, per wheel, not per axle.
Shop type matters on both sides of the trailer-vs-motorhome divide. A mobile RV tech or independent trailer shop is usually the most economical route for electric brake service. For a motorized RV, chassis brand becomes the deciding factor: a shop that regularly services Ford, Freightliner, or Spartan chassis brakes has the fault-code tables and torque specs on hand, while a shop unfamiliar with your specific chassis may spend billable hours finding the right procedure. Asking a shop directly whether they service your chassis brand before booking is worth the phone call.
Does insurance or an extended warranty cover brake work?
Rarely, and for a familiar reason: brake pads, shoes, and rotors are wear items, and every RV extended warranty excludes wear items from mechanical breakdown coverage the same way it excludes tires and batteries, no matter how comprehensive the plan looks on paper. The exception is a genuine component failure that isn’t ordinary wear, a caliper that seizes from a manufacturing defect or an ABS module that dies outright, which some comprehensive plans do treat as a covered mechanical breakdown. Check the extended warranty cost guide for how those plans typically define a covered component versus a wear item before assuming either way. Trailer electric brakes essentially never appear as a covered item at all, since they’re rarely listed on a warranty’s covered-parts schedule to begin with.
Standard RV insurance treats brake replacement the same way: normal wear isn’t a covered loss, though brake components damaged in a covered collision or fire are covered as part of that larger claim.
How brake cost compares to other running-gear costs
Brakes and tires get serviced on the same wheel, often in the same shop visit, and it’s worth thinking about them together rather than as separate line items. The tire replacement cost guide covers the other half of that budget, and uneven tire wear is one of the more reliable signs that a brake is dragging or a bearing is failing underneath it. If your trailer’s electric brakes are cutting out intermittently, the problem is sometimes electrical rather than mechanical: the battery replacement guide covers what can go wrong on the tow vehicle and breakaway-switch side of that circuit, which is worth ruling out before assuming the brake assembly itself has failed.
What drives the price
| Cost factor | How it moves the price |
|---|---|
| Trailer electric drum brakes vs. motorized chassis hydraulic disc brakes | These are two unrelated systems that happen to share the word 'brakes.' A travel trailer or fifth wheel uses electric drum brakes wired to a brake controller in the tow vehicle, cheap to service and often DIY-approachable. A motorized RV uses hydraulic brakes, usually disc up front and sometimes drum in back, serviced the same way a heavy truck's would be. Confusing the two when researching cost leads to wildly wrong expectations in either direction. |
| Scope of the job | A worn magnet or a glazed brake shoe is a cheap fix; a full disc brake conversion on a heavy axle is not. The gap between 'replace the shoes' and 'convert the whole axle to disc' is roughly 10-15x in parts cost alone, before labor. |
| Axle capacity and count | A light 3.5K-rated axle takes a cheaper brake assembly and a cheaper disc conversion kit than a 6K or 8K-rated axle on a heavier fifth wheel or toy hauler. A single Dexter disc retrofit kit built for a 6K axle runs about $1,975 per wheel, nearly double what a complete 3.5K axle kit (both wheels) costs. Multiply everything by the number of axles that actually have brakes; not every trailer axle does. |
| Drum vs. disc brakes on a trailer | Drum brakes are cheaper to buy and service but fade faster under sustained heavy braking, like a long mountain descent towing near the trailer's rated capacity. Disc brakes cost several times more upfront but resist fade and are the more common upgrade on trailers that regularly tow through mountain terrain or carry heavy toy-hauler loads. |
| Shop type | A mobile RV tech or independent trailer shop typically services electric drum brakes for less than a dealer would. For a motorized RV, chassis brand matters: a Ford, Freightliner, or Spartan chassis dealer often has the fault-code and torque-spec documentation an independent shop doesn't, which can mean a more accurate diagnosis even at a higher labor rate. |
| DIY feasibility | Trailer drum brake service is within reach of a patient owner with a jack, a torque wrench, and comfort pulling a hub and drum. Motorized chassis brakes involve bleeding hydraulic lines and torque specs tied to a much heavier, faster vehicle, and most owners are better served hiring that work out. |
| Wheel bearing service done at the same time | Pulling a trailer hub to service the brakes exposes the wheel bearings anyway, and a bearing repack or replacement at the same time adds roughly $50-$300 per axle in parts and labor. Skipping it to save money on a brake visit just means paying for a second teardown later. |
DIY or hire a pro?
- Cost
- $30-$680 in parts depending on scope, from a single shoe-and-magnet kit to a full 3.5K axle disc conversion kit
- Time
- 2-4 hours per axle for a drum brake shoe and magnet swap, plus time for a bearing repack if the hub is already off; a full weekend for a disc conversion
- Skill
- Moderate for a trailer drum brake job with the right tools and patience; not recommended on a motorized RV's chassis brakes without real brake experience
A trailer drum brake job means jacking the axle, pulling the hub and drum, and swapping the shoes, magnets, springs, and adjuster, all while the wheel bearings are exposed anyway. Getting the shoe adjustment right matters more than it looks: a trailer with brakes adjusted unevenly across axles will pull or grab under braking, which is a genuine safety issue, not just an inconvenience. Buying a complete pre-assembled backing plate (shoes, magnet, springs, and adjuster already mounted) instead of individual parts is usually cheaper and far less error-prone than sourcing each component separately. Motorized RV hydraulic brakes are a different category of job: bleeding air out of the lines correctly and hitting the right torque specs on a heavier, faster vehicle is not the place to learn brake work for the first time.
What you'll need
- Complete brake backing plate assembly, per wheel (shoes, magnet, springs, adjuster pre-mounted)
- Wheel bearing grease and seal kit, matched to hub size (affiliate)
- Brake spring pliers and an adjusting tool (affiliate)
- Torque wrench rated to at least 150 ft-lbs
As an Amazon Associate, we earn from qualifying purchases.
- Cost
- $350-$4,000+ depending on whether it's a trailer axle service or a full motorhome brake job
- Time
- Half a day per axle at a mobile RV tech or trailer shop; 1-3 shop days for a motorhome hydraulic brake job
- Booking
- Recommended for any motorized RV chassis brake work, and for trailer owners without bearing-repack experience
Brakes are the one RV system where a mistake has an immediate safety consequence rather than a slow-building repair bill, which is the strongest argument for paying a shop even when a job looks simple on paper. For a trailer, a mobile RV tech or independent trailer shop can usually service both wheels on an axle in a single visit, often bundling a wheel bearing check into the same teardown. For a motorized RV, hydraulic brake work means bleeding lines, torquing calipers correctly, and on a chassis like a Ford E-450 or a diesel pusher's Freightliner frame, following manufacturer-specific procedures that an independent shop may or may not have documented. Ask specifically whether a shop services your chassis brand before booking; a shop that doesn't will still take the job but may spend your money finding the right procedure by trial and error.
Will insurance or a warranty cover it?
- An extended warranty or service contract may cover this if the failure is mechanical and the component is listed in your plan.
- This is usually out of pocket. Standard policies treat it as wear and maintenance. A service contract bought before it fails is the main way to shift the risk.
Brake pads, shoes, and rotors are wear items, and essentially every RV extended warranty excludes wear items from mechanical breakdown coverage the same way it excludes tires and batteries, regardless of plan tier. The narrow exception is a genuine component failure that isn't ordinary wear, a caliper that seizes from a manufacturing defect or an ABS module that fails outright, which some comprehensive plans do cover as a mechanical breakdown rather than routine maintenance. Trailer electric brakes essentially never show up as a covered component at all, since they're rarely listed on a warranty's covered-parts schedule in the first place. Standard RV insurance follows the same wear-item logic: routine brake replacement isn't a covered loss, though brake components damaged as part of a covered collision or fire claim are covered under that claim.
Coverage depends on your policy and the cause of damage. Confirm specifics with your provider.