RV Plumbing Repair Cost: What to Expect in 2026
RV plumbing repair costs $10 to $75 in DIY parts for a fitting or PEX line fix, $150 to $450 for a mobile tech to handle a single leak or valve, or $1,200 to $2,600 for a full supply-line re-plumb. Here's what drives the range.
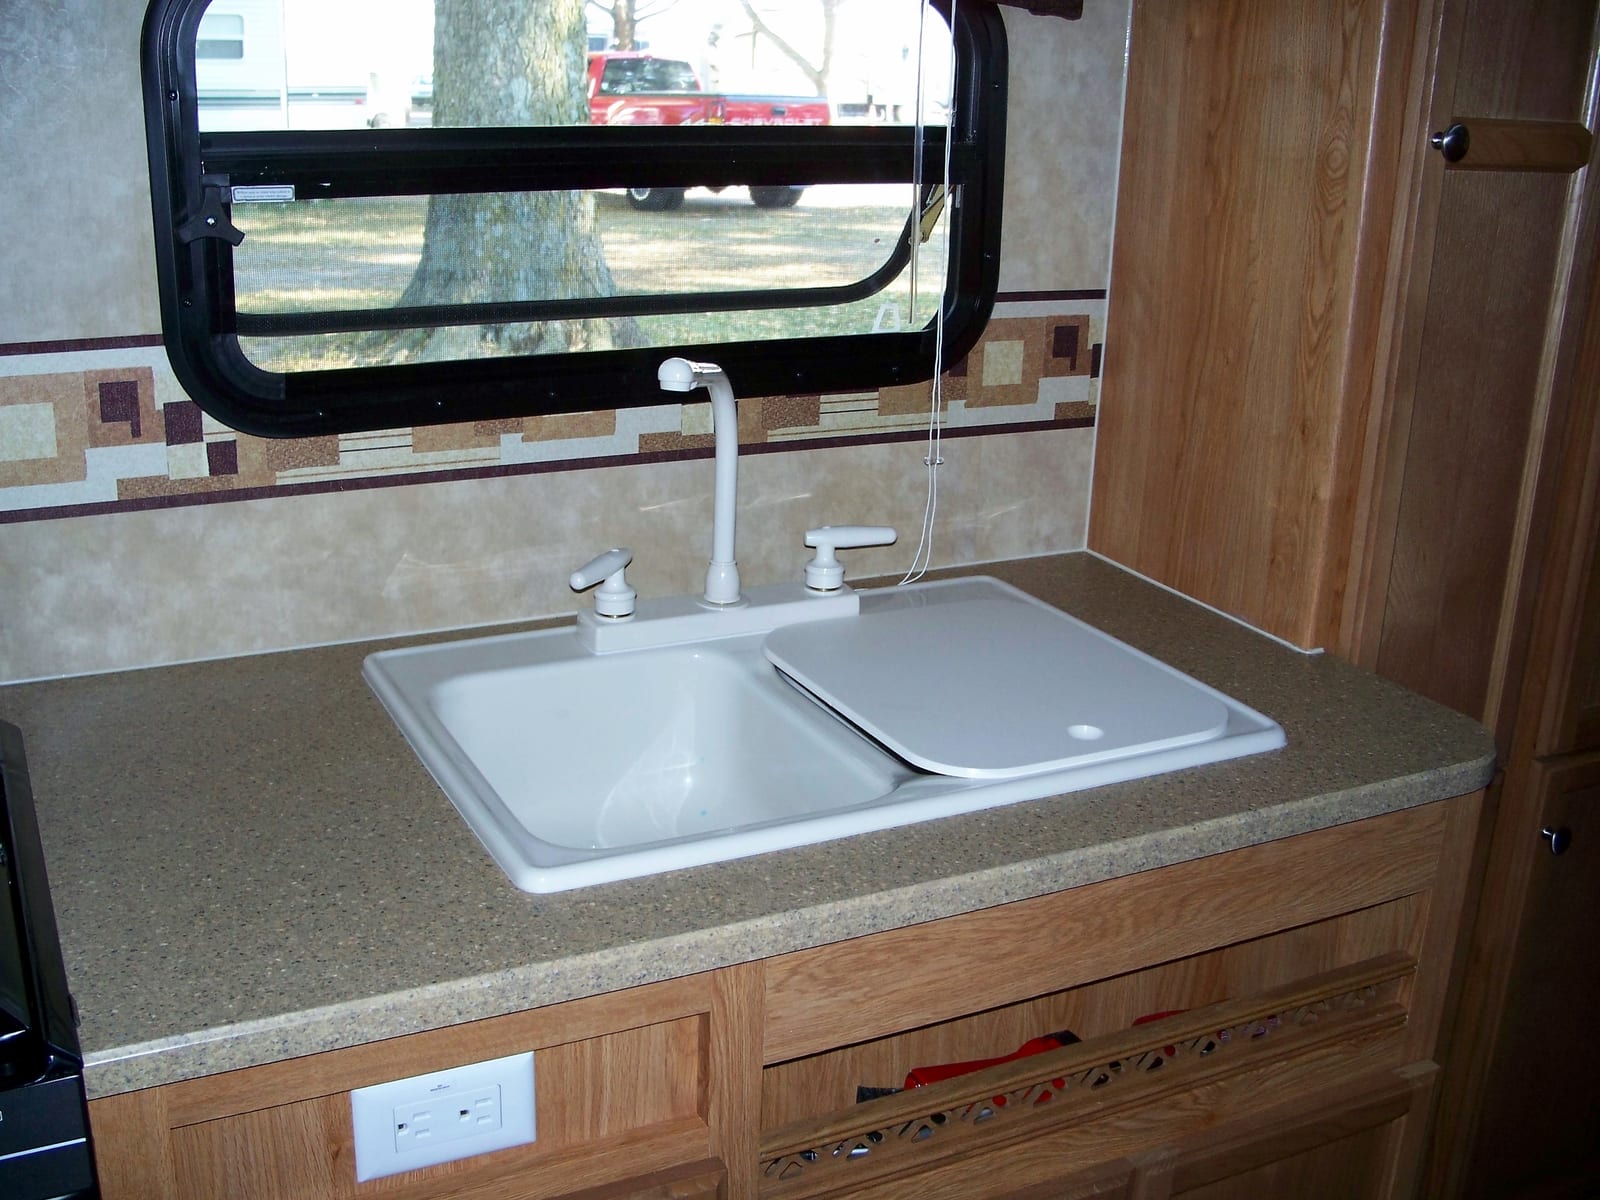
Typical cost
$10–$2,600
A DIY PEX fitting or tubing fix costs $10-$75 in parts. A mobile tech handling a single leak, fitting, or valve typically runs $150-$450. A full supply-line re-plumb after major freeze damage or age-related failure runs $1,200-$2,600.
Most people pay around
$350
Costs verified July 2026
RV plumbing repair costs $10 to $75 in parts if you’re fixing a PEX fitting or tubing section yourself, $150 to $450 for a mobile tech to handle a single leak, fitting, or valve, or $1,200 to $2,600 for a full supply-line re-plumb on an older rig. Holding tank gate valves sit in their own category: the part costs $20-$30, but labor runs anywhere from $150 for an easy-access swap to $1,200 for a valve buried behind other components. Access, more than the failure itself, is what separates a cheap plumbing repair from an expensive one.
Why access matters more than the actual leak
RV plumbing isn’t complicated. It’s PEX tubing, a handful of fitting types, a few valves, and gravity doing most of the work on the drain side. What makes plumbing repair pricing swing so widely is where the failure happens, not what kind of failure it is.
A fitting that lets go under an open storage bay is a 20-minute fix: cut it out, snap in a replacement, done. The same fitting failing behind a wall panel, wrapped in foam insulation, or tucked under a slide-out mechanism means real disassembly time before a wrench ever reaches the actual problem. Two identical failures, wildly different bills, and the difference is entirely about what has to come apart first.
What fitting repairs actually cost in parts
Modern RV plumbing uses two fitting styles, and both are genuinely DIY-friendly. Push-to-connect fittings, the SharkBite and John Guest Speedfit style, snap onto PEX tubing with no crimping tool required and run $5 to $23 depending on the configuration: a simple coupling is cheapest, a three-way tee or a compression adapter costs more. Traditional crimp-style PEX fittings need a crimping tool, about $65 for a combo kit that handles multiple ring sizes, but individual brass fittings run under $10 when bought in multi-packs.
| Fitting type | Typical cost | Tool required |
|---|---|---|
| Push-to-connect coupling or tee | $5-$23 | None |
| Brass PEX crimp adapter (multi-pack) | $9.99 (4-pack) | Crimping tool |
| PEX crimping tool combo kit | ~$65 | N/A (this is the tool) |
| Quick-connect adapter | $11-$15 | None |
For a single fitting repair, push-to-connect is almost always the faster and cheaper DIY route unless you’re already equipped for crimp work or planning multiple repairs where the tool investment pays off.
Holding tank gate valves: a cost category of their own
Gate valves, the slide handles that release your black and gray tanks, deserve their own line item because the part-to-labor ratio is so lopsided. The valve itself runs $20 to $30, a genuinely cheap part by any RV standard. What varies enormously is what it takes to get to it.
On a rig where the valve sits in an open, accessible spot, replacement is close to a 15-minute job once the tank has been dumped and rinsed: pull two bolts, slide the old valve out, slide the new one in, reseal. On a rig where the valve is tucked behind plumbing, wiring, or structural components, the same swap can become close to a full day of labor, cutting into surrounding fittings and working in a genuinely unpleasant space. At $130-$195 an hour, that difference alone can separate a $150-$300 repair from one running $600-$1,200.
If you’re getting a valve quote that feels high, ask specifically what the access situation looks like on your floorplan before assuming you’re being overcharged. It’s a legitimate reason for the spread, not padding.
What freeze and winterization failures actually cost
Skipping winterization, or doing it incompletely, is the single most expensive mistake in RV plumbing, and the costs compound in a predictable pattern. A burst water line or valve averages $100 or more to repair on its own, a manageable number. But a ruptured water heater connection runs closer to $520, and once water has been sitting in a wall cavity or under flooring, interior water damage restoration alone can run $1,800 or more. A documented case in Tennessee started as one overlooked line and totaled $3,190 once every downstream failure was accounted for.
Compare that to what prevention actually costs: professional winterization service runs $99 to $350 depending on tier (a basic blow-out job is cheapest, antifreeze plus a full system flush costs more), and DIY winterization with antifreeze and basic supplies runs $75 to $100. Even at the high end of professional pricing, winterizing every single fall is a fraction of what one bad freeze season can cost.
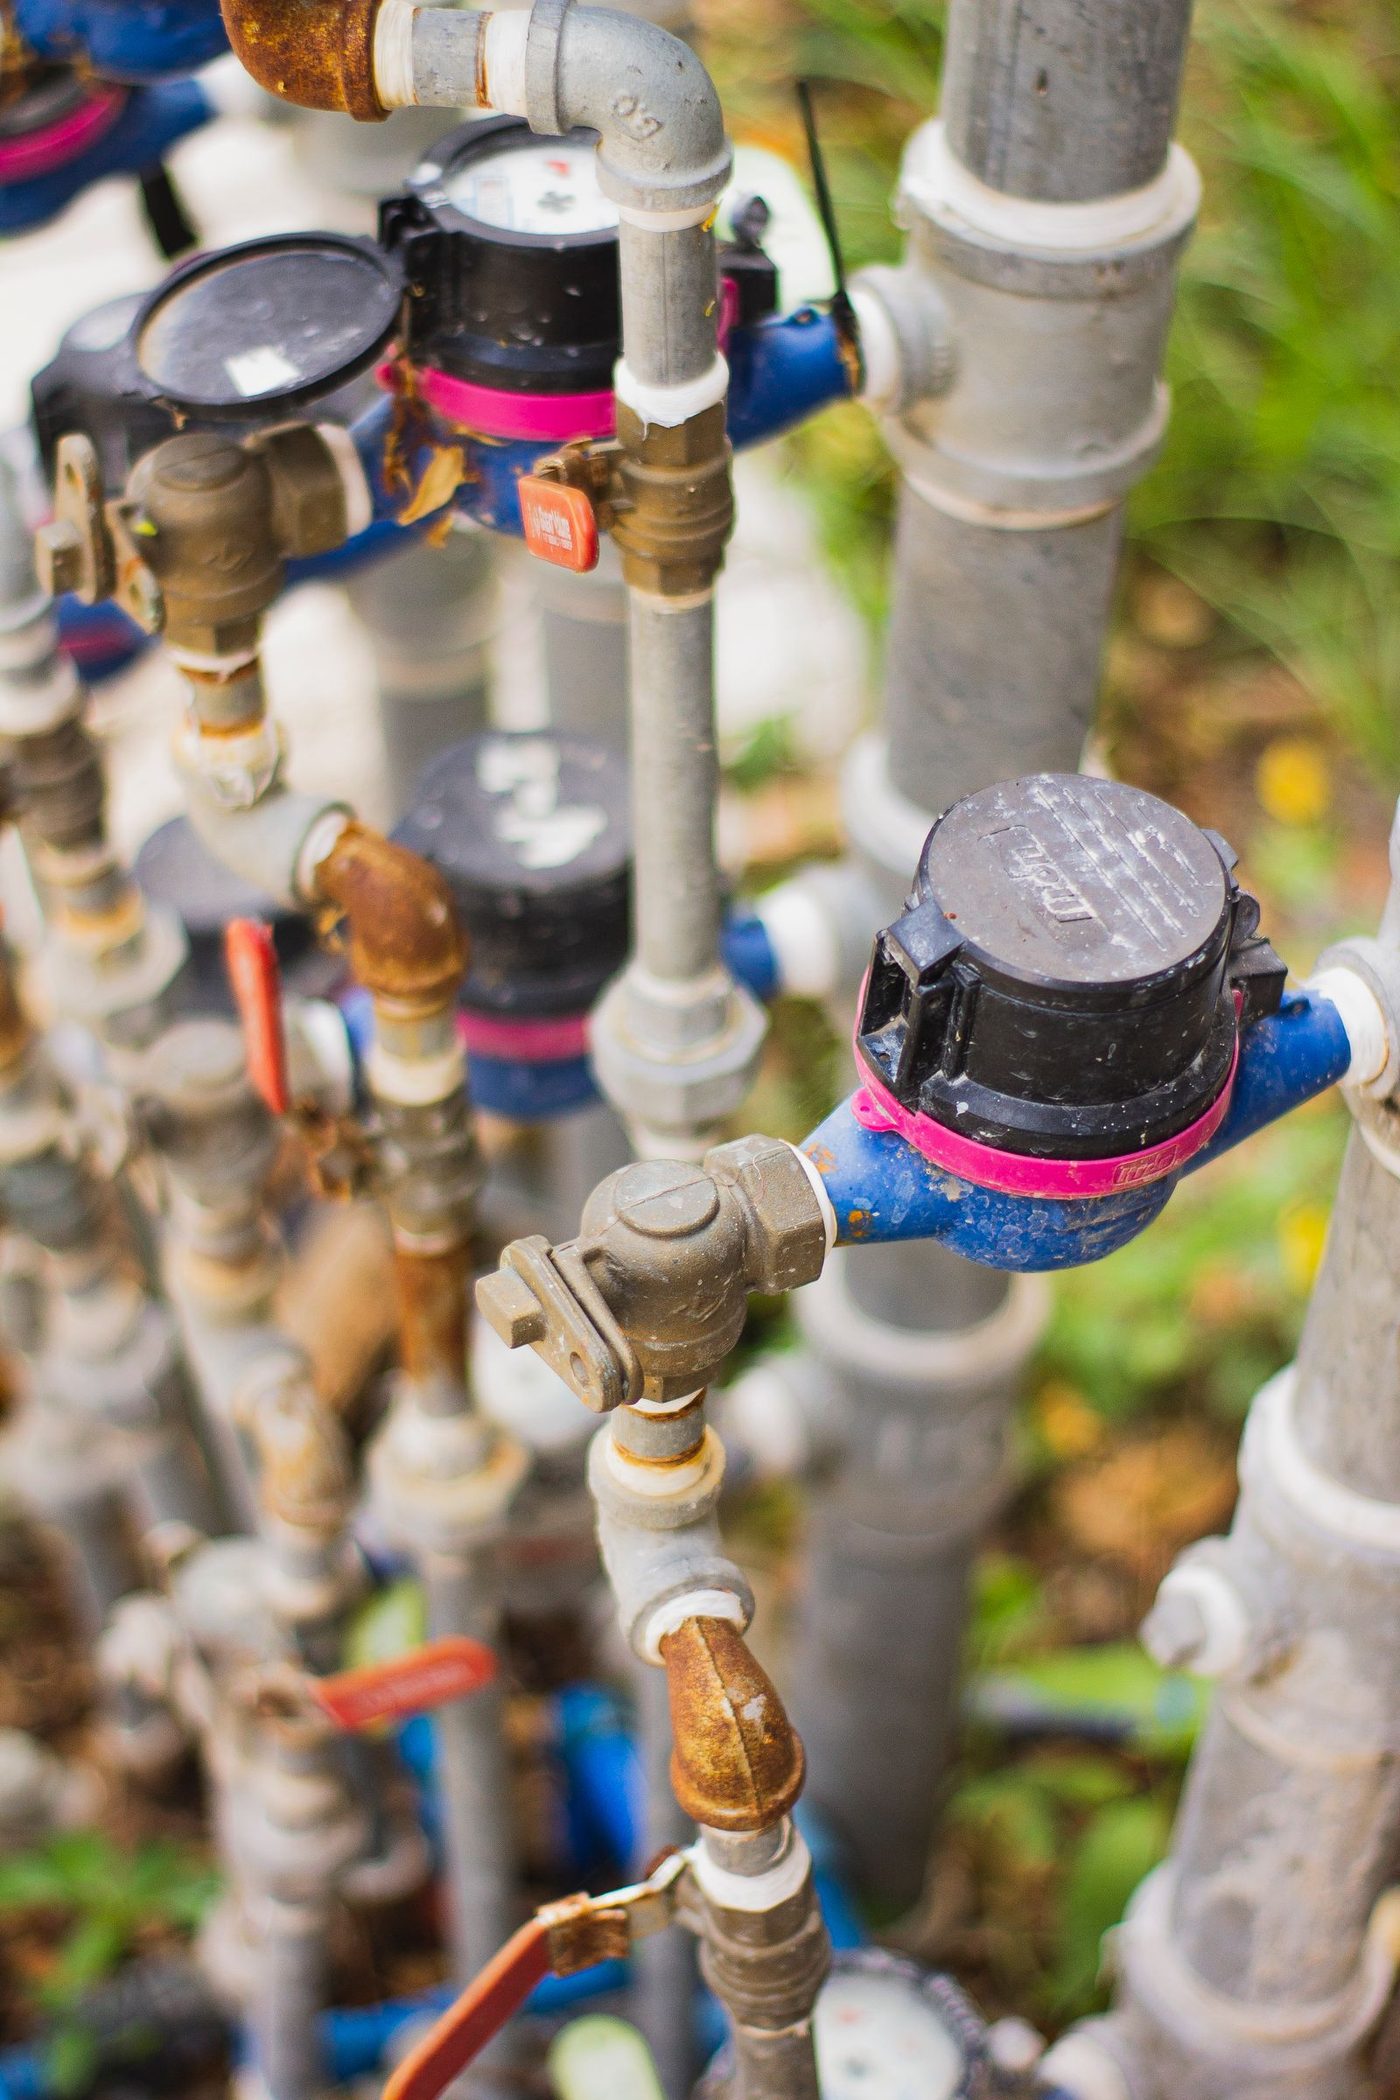
When a leak has already caused secondary damage
A leak caught early is a plumbing repair. A leak that’s been dripping unnoticed for weeks or months is a plumbing repair plus a separate water damage remediation job, and the second part typically costs more than the first. Soft subflooring near the wet bath, delaminated wall panels behind a slide-out seal, or mold starting in a cabinet aren’t plumbing line items. They’re their own scope of work, and a tech who finds them mid-repair will stop and requote rather than absorb it into the original plumbing estimate.
If you’re seeing warped flooring, a musty smell, or discoloration anywhere near a known or suspected leak, the water damage repair cost guide covers what that remediation work runs separately from the plumbing fix itself.
Full re-plumb: when it makes sense and what it costs
Some rigs, particularly ones built through the 1990s and early 2000s, were originally plumbed with flexible vinyl tubing rather than PEX. That tubing degrades with age and tends to crack right at fitting connections, which means repeat leaks in different spots rather than one isolated failure. At that point, patching individual fittings becomes a losing game, and a full supply-line re-plumb starts making more financial sense than another round of $150-$450 spot repairs.
A full re-plumb typically runs 8 to 12 hours of labor at $130-$195 an hour, plus roughly $150-$300 in PEX tubing, fittings, and crimp rings, for a total of $1,200 to $2,600 depending on rig size and regional labor rates. It’s a bigger bill up front, but it resets the clock on a system that’s been nickel-and-diming you with repeat failures.
Can you handle RV plumbing repairs yourself?
For a single accessible fitting, yes, without much hesitation. Shut off the water pump or disconnect from city water, cut out the failed section with a PEX cutter, and join a push-to-connect fitting in its place. No specialized tools, no soldering, no glue curing time. It’s one of the more forgiving DIY jobs on an RV specifically because push-fit connections are designed to be foolproof.
Where it gets harder is anything you can’t see without disassembly, and anything involving the holding tanks. A leak somewhere inside a wall or under flooring means finding it before you can fix it, and guessing wrong means buying parts twice and still having a leak. Gate valve work means dealing with tank contents directly, which is more of an unpleasant-job problem than a skill problem, but it’s worth being honest with yourself about before starting. If a leak has already soaked into flooring or cabinetry, that’s a good moment to call a professional regardless of how comfortable you are with the plumbing itself, since diagnosing the full extent of water damage benefits from experience you’re unlikely to have built up on your own rig.
Does insurance or an extended warranty cover plumbing repairs?
It depends heavily on cause. Extended warranty mechanical breakdown coverage typically covers plumbing components that fail from a genuine defect, a factory fitting that cracks prematurely or a valve that fails with no external cause. It typically excludes freeze damage outright, treating it as a preventable maintenance failure rather than a covered breakdown, which makes it the single most common reason a plumbing claim gets denied. Check your contract’s language specifically before assuming a winter freeze incident is covered.
Standard RV insurance runs on similar logic. Sudden, accidental water damage from a covered peril, a burst line during a covered loss, is generally covered. Damage from a slow leak that went unnoticed for weeks, or from skipping winterization entirely, is typically treated as preventable and excluded. For the broader picture on what these contracts cover across every RV system, the extended warranty cost guide breaks down contract structures and common exclusions in more depth.
How plumbing repair cost compares to other RV systems
Plumbing sits at the accessible end of RV systems work, closer to electrical fuse-and-outlet repairs than to a major appliance swap. For comparison, the water heater replacement guide covers a system that shares many of the same fittings and lines but runs $150-$2,500 on its own scale once you’re replacing the tank unit itself. The water pump replacement guide covers the other half of most fresh-water systems, the component that pressurizes everything this article’s fittings and lines carry.
The RV systems cost overview covers heating, cooling, water, and electrical at a summary level if you’re budgeting across multiple systems in the same season.
What drives the price
| Cost factor | How it moves the price |
|---|---|
| What kind of fitting is actually leaking | RV plumbing uses two common connection types, and neither requires special tools anymore. Push-to-connect fittings like SharkBite and John Guest Speedfit snap on without crimping, and run $5-$23 apiece depending on the configuration (straight coupling, tee, elbow). Traditional PEX crimp fittings need a crimping tool, roughly $65 for a combo kit that handles multiple ring sizes, but individual brass fittings run under $10 in multi-packs. A push-fit repair is usually the faster and cheaper DIY route unless you're already equipped for crimping. |
| Access to the failure point | A fitting under an open bay or behind a removable access panel is a 15-30 minute fix once you've found it. A line routed through the belly pan, behind interior cabinetry, or wrapped in insulation and foam board takes real disassembly time before a wrench ever touches the actual leak. This single variable explains most of the spread between a $150 mobile tech visit and a $450 one for what is, mechanically, the same kind of repair. |
| Holding tank valve replacement, specifically | The gate valve itself is a cheap part, $20-$30 according to RV training industry sources, and swapping it can be a 15-minute job after dumping and rinsing the tank on rigs with good access. On rigs where the valve sits behind other components, requires cutting into the tank fitting, or demands partial disassembly of the underbelly, the same swap becomes a half-day labor job. At $130-$195/hr shop rates, that access difference alone can separate a $200 repair from a $1,000-plus one. Ask specifically about access before assuming a quote is inflated. |
| Winterization failures compound fast | A single overlooked water line left full of water through a freeze doesn't stay a single-line problem for long. Burst water lines and valves average $100-plus to repair on their own; a ruptured water heater connection runs closer to $520; and once water gets into flooring, cabinetry, or wall cavities, interior water damage restoration alone can run $1,800 or more. A documented case out of Tennessee totaled $3,190 in freeze damage from what started as one missed line. Professional winterization runs $99-$350 depending on service tier; DIY antifreeze and supplies run $75-$100. Compared to a $3,000 damage bill, winterizing every fall is the cheapest insurance policy on this whole list. |
| Whether the leak has already caused secondary damage | A caught-early leak is a plumbing repair. A leak that's been dripping into a wall cavity for three months is a plumbing repair plus a water damage remediation job, and the second part usually costs more than the first. Soft subflooring, delaminated wall panels, and mold remediation aren't plumbing line items, they're a separate scope covered under water damage repair, and a tech who finds them mid-job will stop and requote rather than fold them into the original estimate. |
| Full re-plumb scope and rig age | Replacing all the supply lines in an RV, done when the original vinyl or early-generation PEX tubing has become brittle and prone to repeat failures, runs 8-12 hours of labor at $130-$195/hr plus roughly $150-$300 in tubing, fittings, and crimp rings. That works out to $1,200-$2,600 depending on rig size and labor rate. Older rigs originally plumbed with flexible vinyl tubing (common through the 1990s and early 2000s) are the most frequent candidates, since that tubing degrades and cracks at fitting connections in a way modern PEX generally doesn't. |
DIY or hire a pro?
- Cost
- $10-$300 in parts, depending on scope
- Time
- 15-30 minutes for a single fitting; a weekend for a full line audit and multiple repairs
- Skill
- Beginner for push-to-connect fittings; intermediate for PEX crimp work or any repair requiring tank removal
A leaking fitting is one of the most approachable plumbing repairs on an RV. Shut off the pump or disconnect city water, cut out the failed section with PEX cutters or a hacksaw, and join a push-to-connect fitting in place, no tools beyond a tape measure and a deburring tool. Crimp-style repairs add one more tool to the list, a crimping tool sized to your ring type, but the technique is genuinely learnable in one repair. Where DIY gets harder is a valve buried behind other components or a line that's failed somewhere you can't see without pulling paneling. Confirm the actual failure point before buying parts; guessing wrong means a second trip to the hardware store and a line still leaking.
What you'll need
- SharkBite or John Guest push-to-connect PEX fittings (assorted couplings, tees, elbows)
- PEX crimping tool combo kit (multiple ring sizes)
- Brass PEX adapter multi-pack (affiliate)
- PEX tubing cutter and deburring tool
As an Amazon Associate, we earn from qualifying purchases.
- Cost
- $150-$2,600 depending on scope, from a single fitting to a full re-plumb
- Time
- Same-day for a single leak or valve; 1-2 days for a full supply-line replacement
- Booking
- Worth the money for a leak you can't locate, a hard-to-access holding tank valve, or any job that's already caused water damage and needs both repair and remediation coordinated
A tech's real value on plumbing work is pressure-testing and leak-tracing. Many failures hide behind panels or under flooring, and a professional visit typically includes pressure isolation testing to confirm the actual failure point before cutting into anything, which saves you from paying to fix the wrong section twice. For holding tank valve work specifically, a pro handles the mess of draining and rinsing the tank as part of the job, which is worth something on its own. For a full re-plumb, professional work also means the new lines get routed and secured properly against road vibration, the actual cause of most repeat failures on DIY work done in a hurry.
Will insurance or a warranty cover it?
- An extended warranty or service contract may cover this if the failure is mechanical and the component is listed in your plan.
- This is usually out of pocket. Standard policies treat it as wear and maintenance. A service contract bought before it fails is the main way to shift the risk.
Mechanical breakdown coverage under an RV extended warranty typically covers plumbing components that fail from a defect: a factory fitting that cracks prematurely, a valve that fails mechanically with no external cause. It typically excludes freeze damage, which is explicitly treated as a maintenance failure (not winterizing properly) rather than a covered breakdown, and this is the single most common reason a plumbing claim gets denied. Standard RV insurance follows similar logic: sudden and accidental water damage from a covered peril is generally covered, while damage from a slow, undetected leak or from skipping winterization is typically excluded as preventable neglect. If a leak has already caused interior water damage, that portion of the claim is worth pursuing separately and is covered in more depth in the [water damage repair cost guide](/rv-water-damage-repair-cost/).
Coverage depends on your policy and the cause of damage. Confirm specifics with your provider.